Eggs in one basket
Posted: Sun Apr 11, 2021 11:36 am
During a recent game on BoardGameArena, I had the opportunity to witness a series of unfortunate events that could have been avoided.
I think it serves as a good example of tactical play by demonstrating what to avoid and how control it during games! I know I've done it several times and certainly would have benefitted if I knew about it earlier:
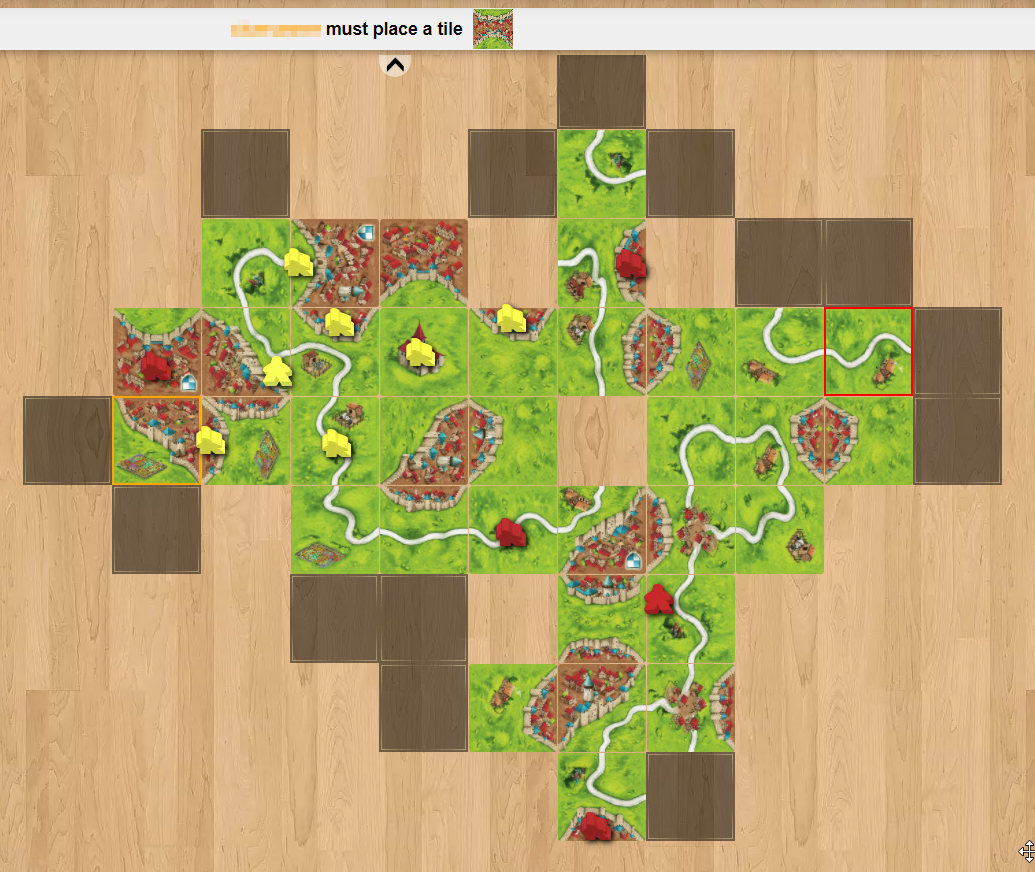
The game starts like most games, very early on Yellow plays to join onto Red's pretty small road, in doing so a stack of cards (or tiles) becomes precariously balanced:
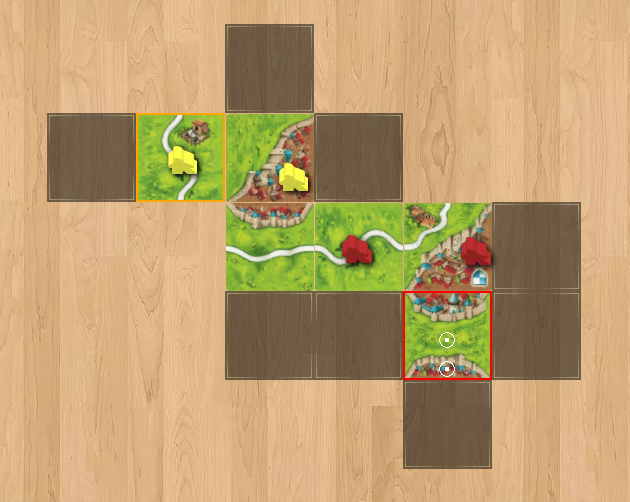
Some points to consider here:
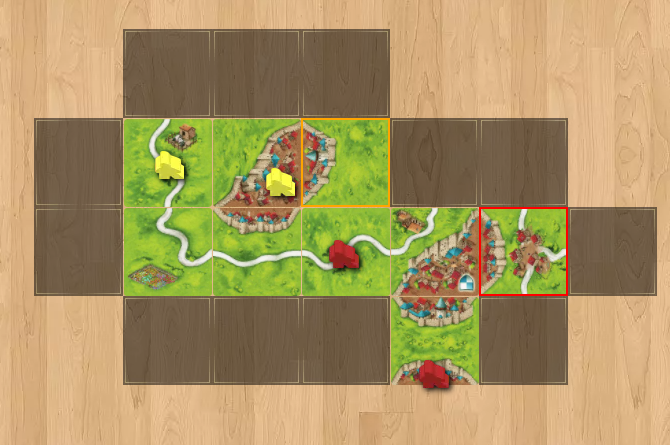
Although this attack wasn't successful, it's the basis of this particular topic. It's very easy for meeple in different features to become depedant on each other.
A few turns later:
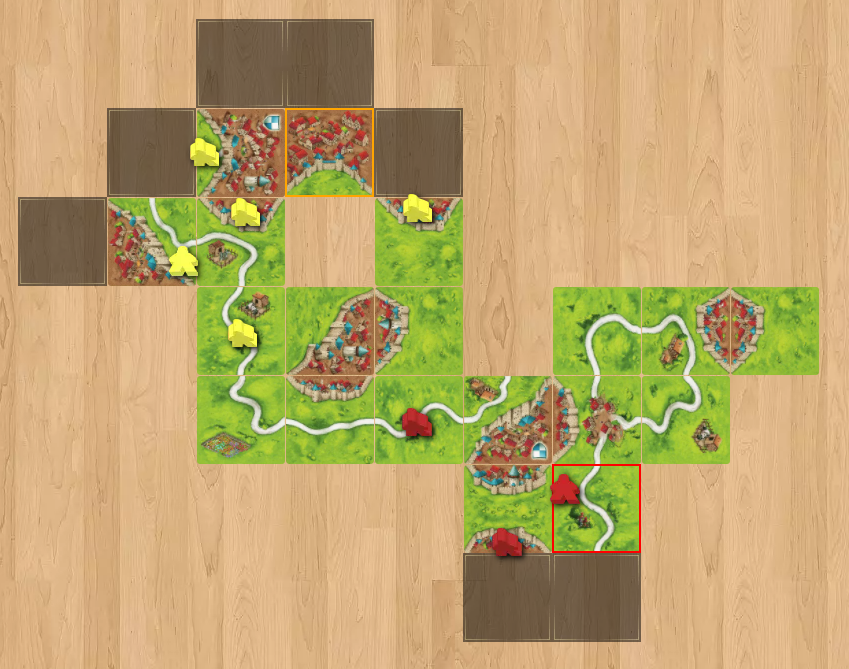
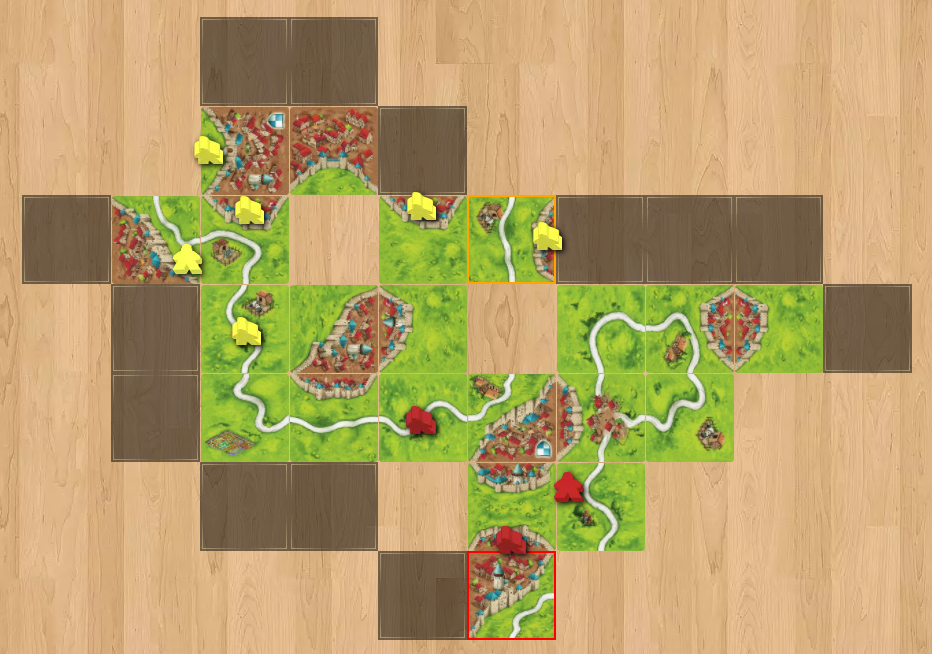
You'll see a Yellow cloister has joined the fray.
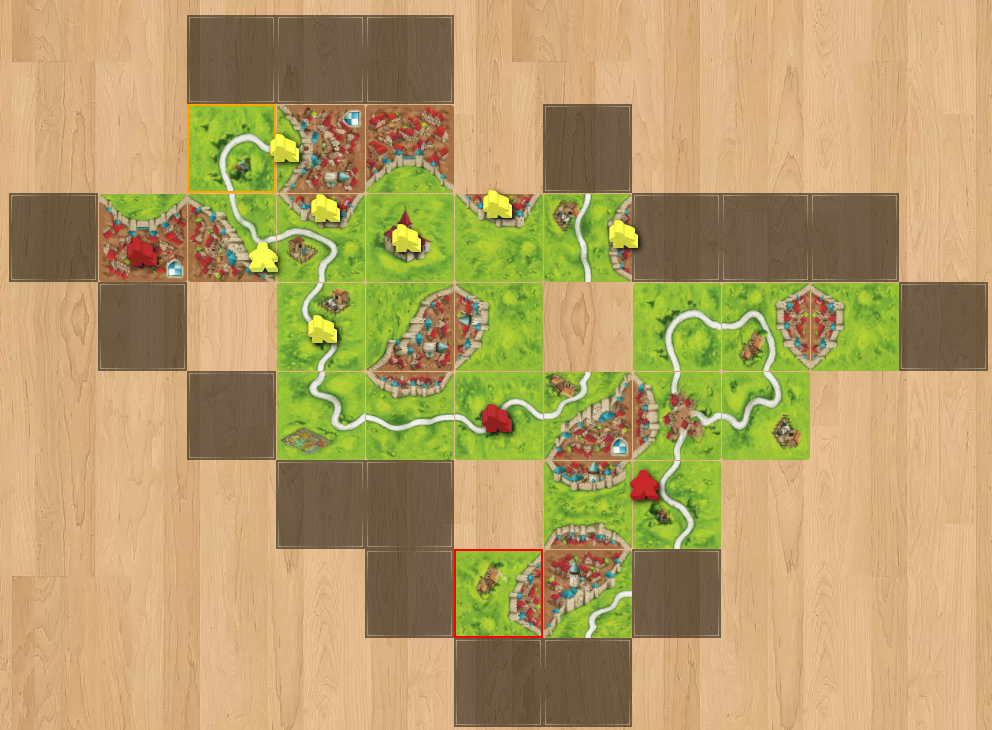
Let's check here:
At this very moment the following tiles could fill that square:

Reducing the possible tiles for that square to: only 4 tiles:
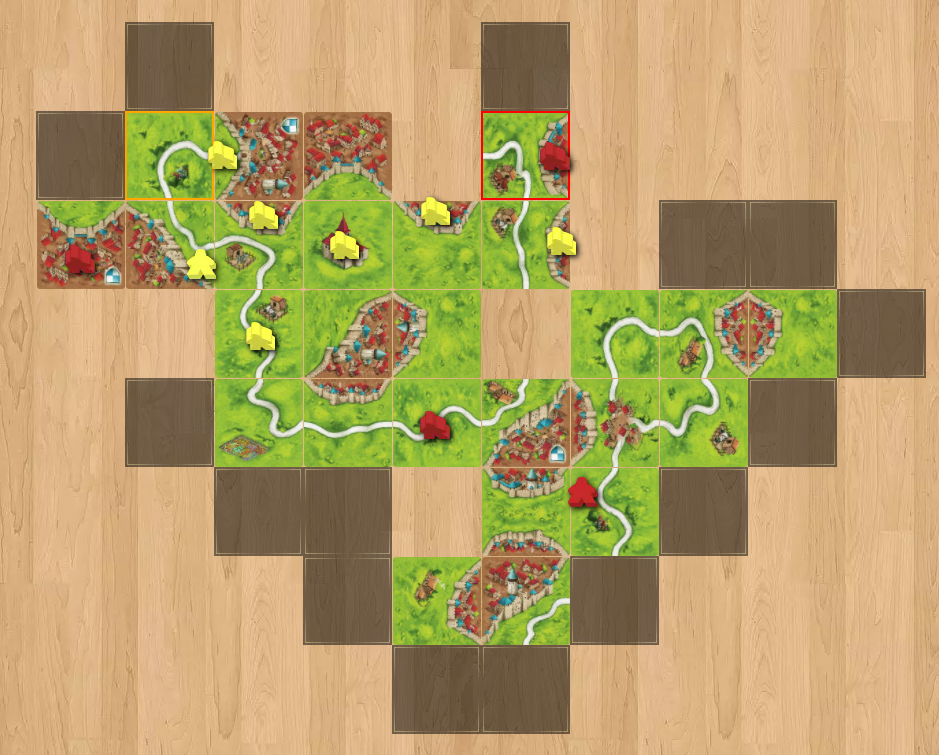
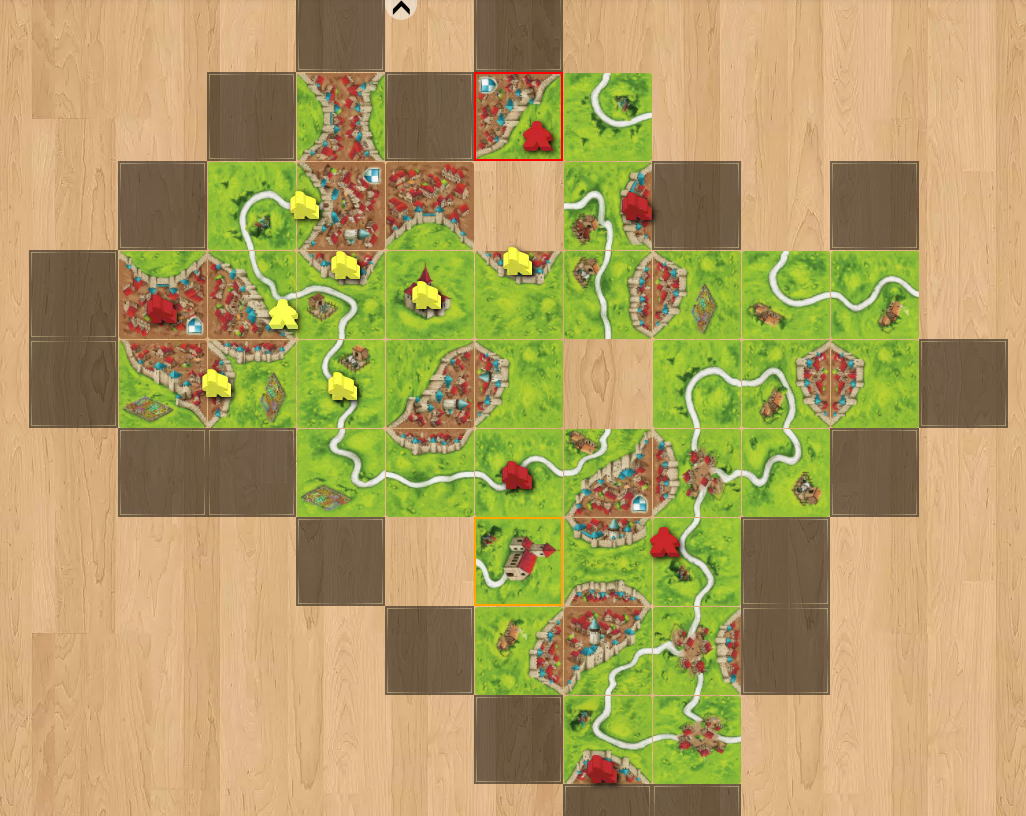
It comes to no surprise that Red managed to trap those 5 meeple a few turns later.
This it what it looked like:

So some lessons learned
Below is the sequence of tiles :
Here are the subsequent moves:
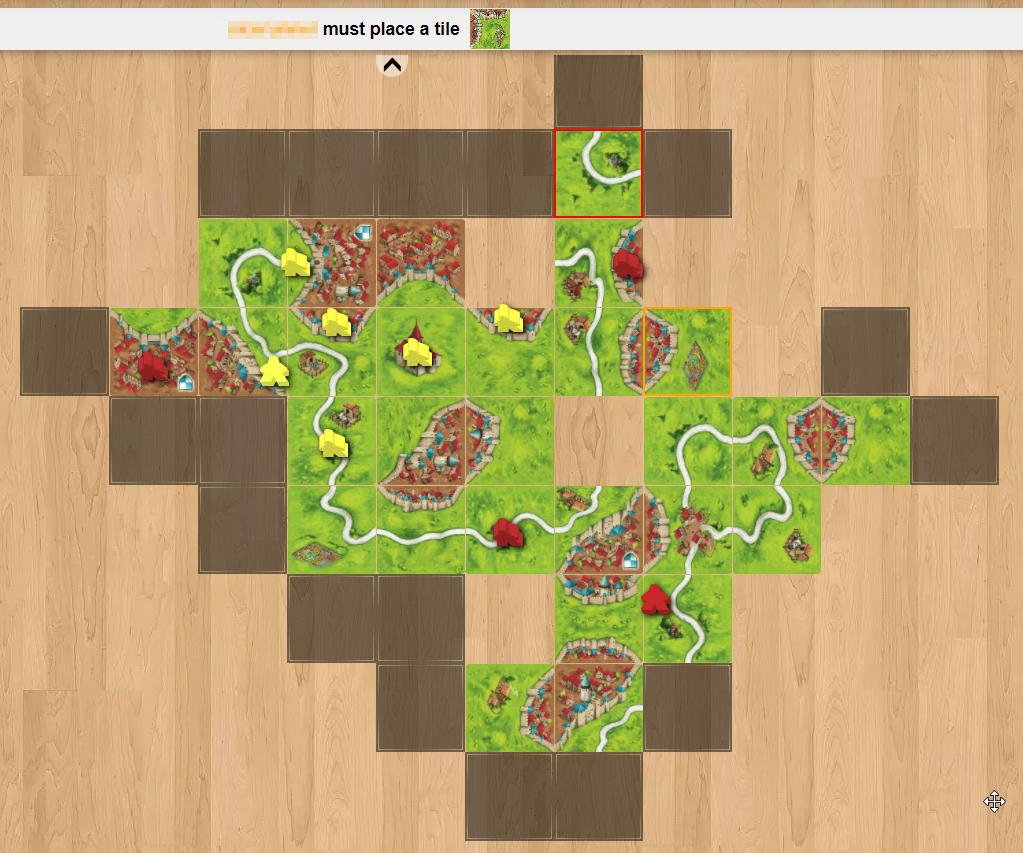
Yellow's tile could ensure that a CCCR tile could complete the city and road.
Place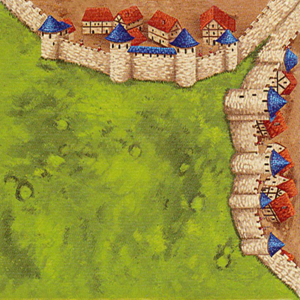 to allow
Also Red chose to use RRFF, with the farm edge rather than a road edge to mount the trap. I've not counted to determine if waiting for an XXRC, or CCFC tile was more likely.
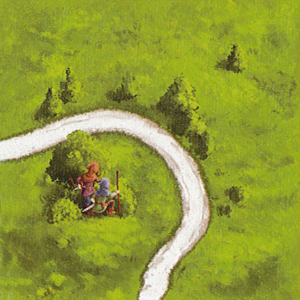
Yellow's tile could ensure that the CCRR tile could be used to complete the city and extend the road.
Place to allow
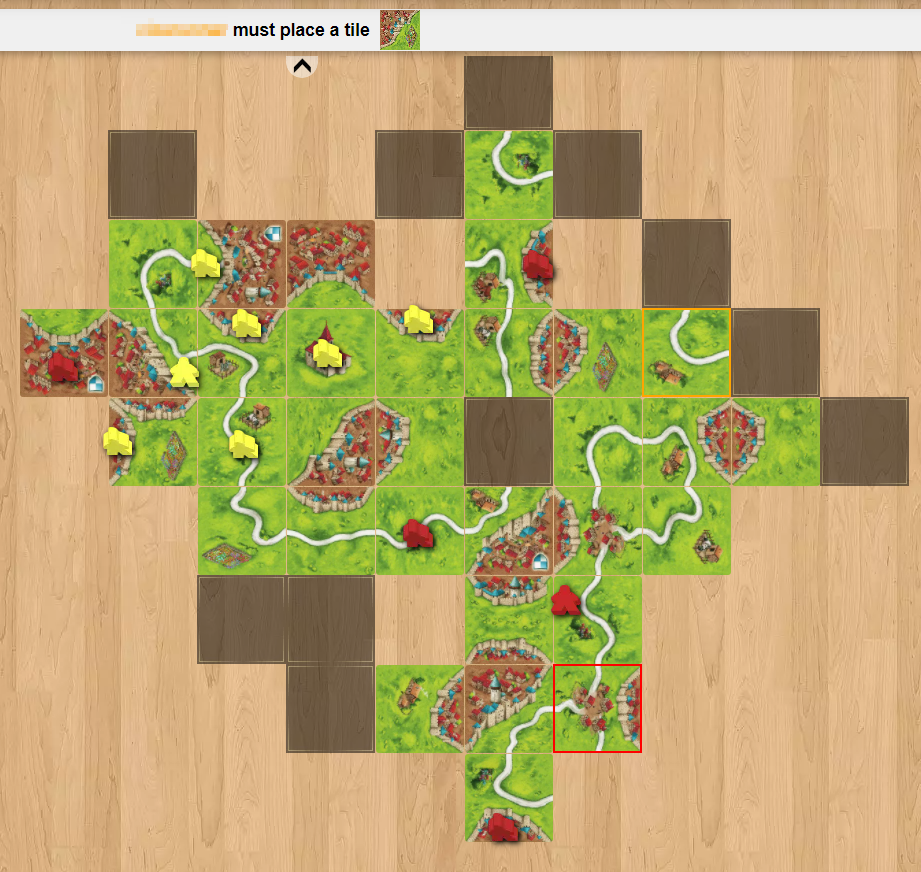
Yellow's tile could ensure that a CCCR tile could complete the city and road.
Place to allow
Yellow's tile could ensure that a CCCR tile could complete the city and road.
Place to allow
Yellow's tile could ensure that the CCRR tile could be used to complete the city and extend the road.
Place to allow
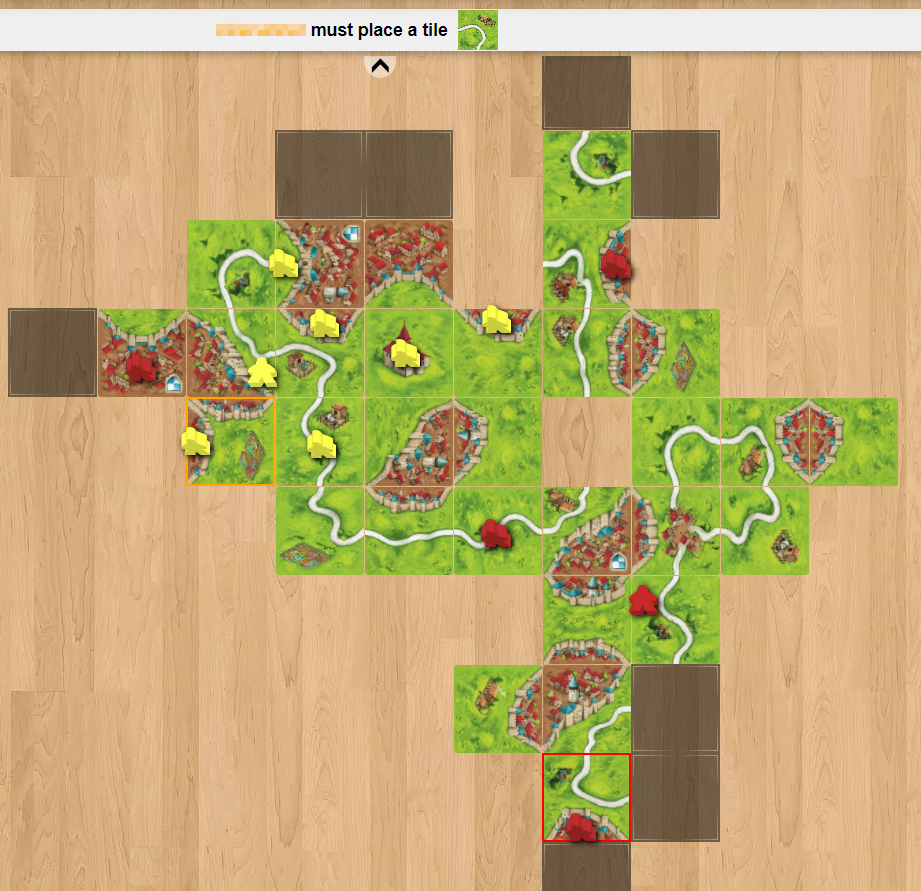
It took 5 turns to trap those 5 meeple and Yellow had 5 opportunities to defend!
So the last take away is Use your tiles to defend otherwise you're left with this:

I think it serves as a good example of tactical play by demonstrating what to avoid and how control it during games! I know I've done it several times and certainly would have benefitted if I knew about it earlier:
The game starts like most games, very early on Yellow plays to join onto Red's pretty small road, in doing so a stack of cards (or tiles) becomes precariously balanced:

Some points to consider here:
- If Yellow does join this road, it would take 2 turns to gain 3 points (that's only a net gain of 1 point)
- By playing this Red's not too inclined to complete the road, or help complete it, doing so would result in 4 of their turns for 1 of Yellow's (not ideal)
- Having said that, Red's meeple is a little stuck here as the map is expanding fast, making the opportunity to expand in a controlled way difficult.
- If Red were to play a road edge towards Yellow's city, that would make it difficult to complete.
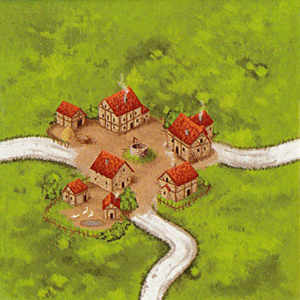
- There are only 3 tiles in the game that have XRFC needed to complete the city.

- If Yellow does join the road, and Red plays a common FFRR tile towards that city. The net result is Yellow has 2 busy meeple, for Red's one busy meeple.


Although this attack wasn't successful, it's the basis of this particular topic. It's very easy for meeple in different features to become depedant on each other.
A few turns later:

- Yellow really wants that 3 point road from Red.
They use 2 meeple and eventually 5 tiles to steal it.
- Yellow's also started farming, this was probably a good idea given all the green space, but Red responded for now.
- The city looks like it may become quite large and set to contain 2 meeple.


- It's a good way ensure that the Yellow farmer will join the larger segment of farm.
- BUT, in doing so leaves the edge of that rather large city exposed to attack.
You'll see a Yellow cloister has joined the fray.

Let's check here:
- 2 Yellow meeple on the road. 2 Yellow meeple in that city. 1 Yellow Meeple on the cloister. 1 Red meeple on the road.
- All of these meeple rely on 1 tile being played
- It's now Red's TOP priority to TRAP those meeple on that square
At this very moment the following tiles could fill that square:
- 2 x
 splitters
- 4 x

- 2 x
 - Pretty good for road.
- 2 x

- 2 x
 - Probably ideal for road.

Reducing the possible tiles for that square to: only 4 tiles:

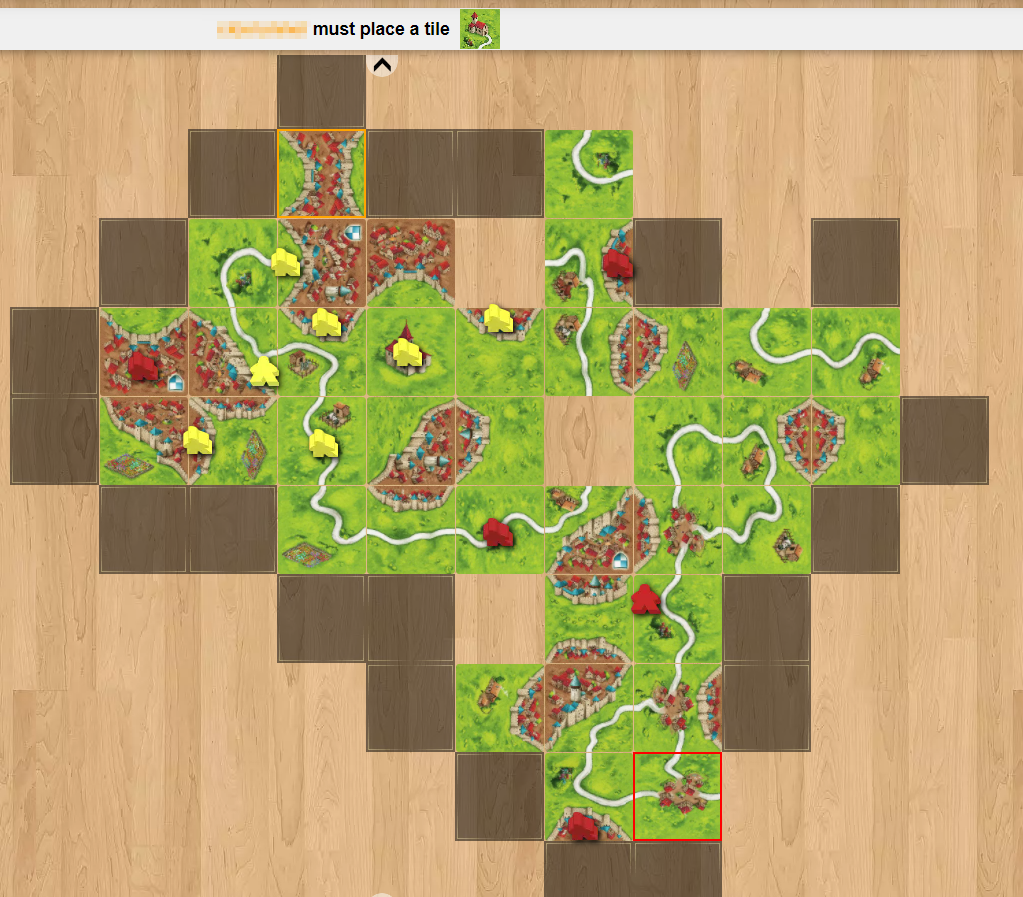
It comes to no surprise that Red managed to trap those 5 meeple a few turns later.
This it what it looked like:

So some lessons learned
- The main takeaway here, is it can be very easy for a lot of meeple to all rely on a single tile, when it wasn't what you intended.
- Generally, this is easier to do at the beginning of the game because the number of free spaces is limited. Your meeple density is higher.
- So don't put all your eggs into one basket!
- It can be very efficient using 1 tile to complete several features, but it can leave you exposed.
- It can often be exciting to attempt to join onto other people's features, but timing is very important. Because the incentive to complete things shifts, especially on small point-value features.
- Remember to check your odds and give yourself the best chance to get the tile you need.
- Remember to use your tiles to defend, it might reduce your odds, of getting it finished, but that's better than no odds when it's trapped.
Below is the sequence of tiles :
Here are the subsequent moves:

Yellow's tile could ensure that a CCCR tile could complete the city and road.
Place
 to allow
Also Red chose to use RRFF, with the farm edge rather than a road edge to mount the trap. I've not counted to determine if waiting for an XXRC, or CCFC tile was more likely.


Yellow's tile could ensure that the CCRR tile could be used to complete the city and extend the road.
Place
 to allow

Yellow's tile could ensure that a CCCR tile could complete the city and road.
Place
 to allow

Yellow's tile could ensure that a CCCR tile could complete the city and road.
Place
 to allow

Yellow's tile could ensure that the CCRR tile could be used to complete the city and extend the road.
Place
 to allow
It took 5 turns to trap those 5 meeple and Yellow had 5 opportunities to defend!
So the last take away is Use your tiles to defend otherwise you're left with this:
